A Guide to Epoxy Floor Coating
Epoxying your garage floor is a fantastic way to enhance its durability, appearance, and ease of maintenance. Whether you’re looking to protect your concrete floor from stains and damage or simply want to give your garage a polished, professional look, epoxy is an excellent choice. In this guide, we’ll walk you through the process of how to epoxy garage floor.
Preparing Your Garage Floor
Before epoxy floor coating, you need to prepare the garage floor properly. This ensures the coating adheres well and lasts longer.
-
Clean Thoroughly: Remove all dirt, oil stains, and debris using a broom and vacuum.
-
Etch the Surface: Use an acid etching solution to roughen the concrete for better adhesion.
-
Repair Cracks: Fill any cracks or holes with concrete patching compound.
Applying the Epoxy Coating
Application is crucial for a smooth and even finish. Follow these steps carefully.
-
Mix the Epoxy: Combine the epoxy resin and hardener according to the manufacturer’s instructions.
-
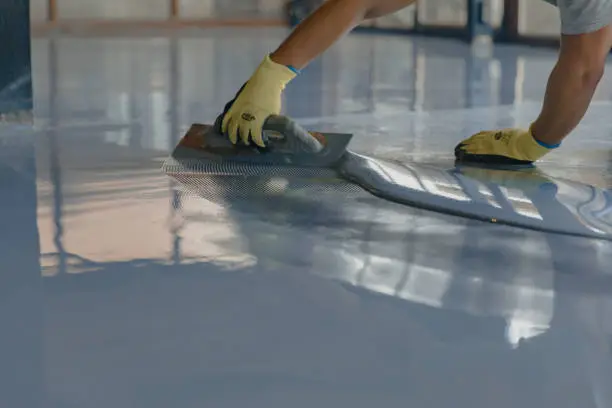
Apply Primer Coat: Roll on a thin layer of epoxy primer using a paint roller. Allow it to dry completely.
-
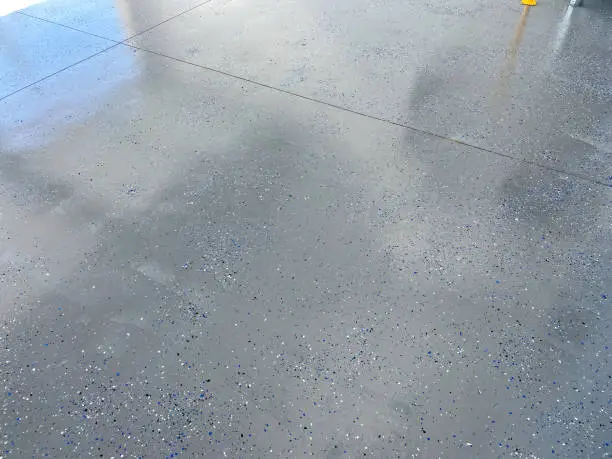
Add Color Chips (Optional): Sprinkle decorative chips onto the wet primer for added texture and color.
-
Apply Final Coat: Once the primer dries, roll on one or two coats of epoxy paint for a glossy finish.
Curing and Maintenance
Curing is essential; don’t rush this step for long-lasting results.
-
Cure Time: Allow at least 24-48 hours for light foot traffic and up to seven days before driving vehicles onto it.
-
Avoid Harsh Chemicals: Wild avoid using strong chemicals that can damage the epoxy coating over time.
-
Regular Cleaning: Simply sweep or mop with mild soap water to keep your floor looking new.
Expert Advice on How to Epoxy Garage Floor for a Flawless Finish
If you’re in Addison, IL and need assistance with how to epoxy your garage floor, contact Jaime Sons Painting at (630) 348-8804. We’ll give your garage floor a professional makeover!

